RGB North Poles - Part 2 - Building the Topper(s)
We purchased 8 of the Candy Cane Post Topper Balls from HolidayCoro. In part 1 of this series we painted the candy cane North Poles. In this section, we will show you how we completed the kits.

Here are all the parts I purchased from HolidayCoro. Shown are the HolidayCoro 3-channel DMX controllers (left), the PVC base and pole, and the rectangular nodes.
|
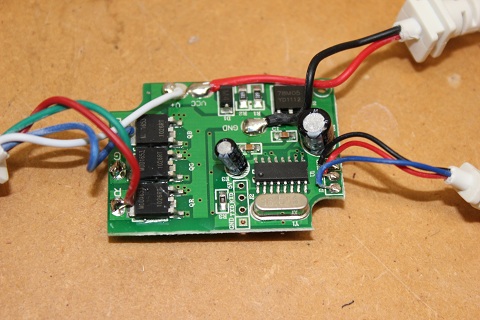
Per the instructions, remove the case screws in the DMX controllers and take out the board.
|
After taking out all the boards, carefully desolder the power, signal and output wires from the controllers. The controller mounts to the PVC base (show later) and you add your cable for DMX signal and power and connect the RGB nodes directly to the board.
|
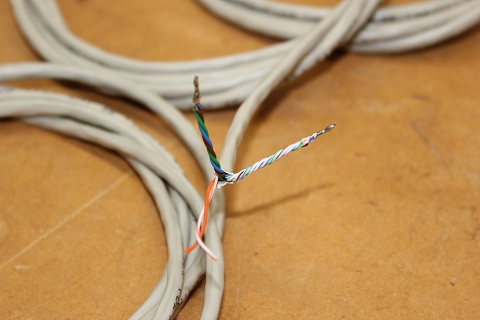
You will use the Cat5 cable to supply the DMX signal and the power. I used the orange pair for the DMX signal and twisted the remaining cables to make the power leads. Shown are the solid color leads twisted together and the striped leades twisted together to provide +12Vdc and the negative lead.
|
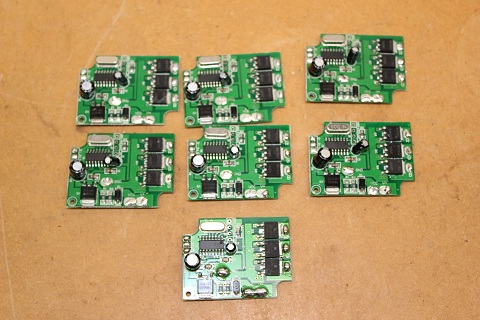
Since I had 8 to complete I built in stages. Here you see the DMX controllers with the 4 RGB nodes soldered on and the Cat5 cables stiped and ready to install.
|

TEST, TEST, TEST. After you build each controller/light harness test it out to make sure everything works. I soldered the RGB nodes to the board, the power leads and the DMX signal leads. You can make note of positioning as you take the old wires off. If you forget, the board is well marked with what goes where.
|
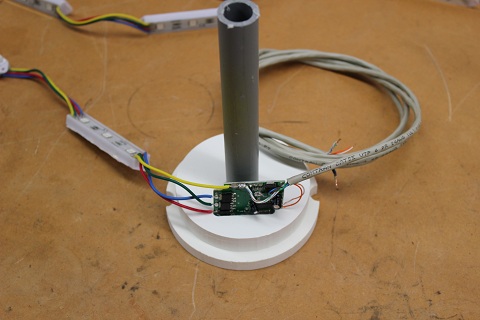
Once all the controller/module harnesses are made, you are ready to be begin installation. There is a slot in the PVC base cut just for the controller. Slip the controller into the slot and secure with a little hot glue.
|
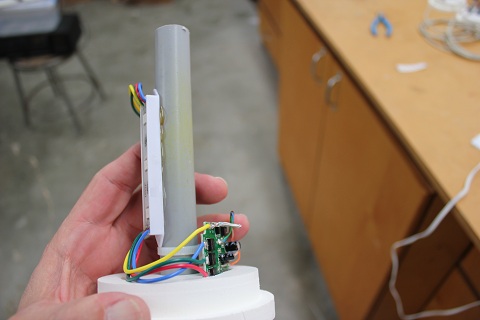
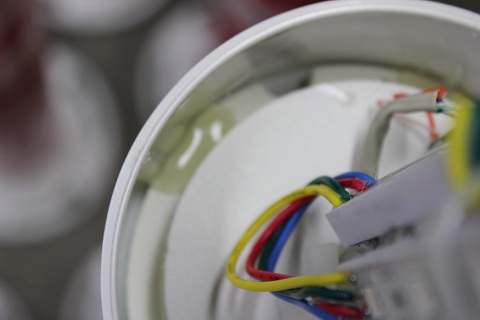
The nodes we purchased had self stick tape. We used the tape to locate and place the nodes then ran a bead of hot glue down both sides to secure the modules.
|
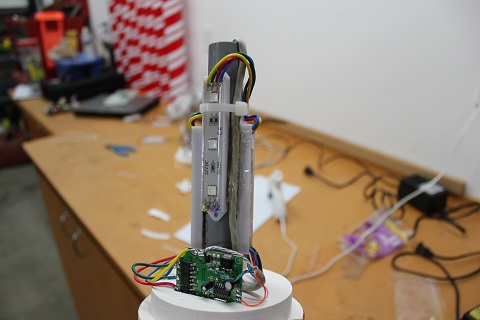
While not in the instructions, I chose to stagger the modules and then secure the Cat5 wire and the modules with a tie-wrap. This is the completed module.
|
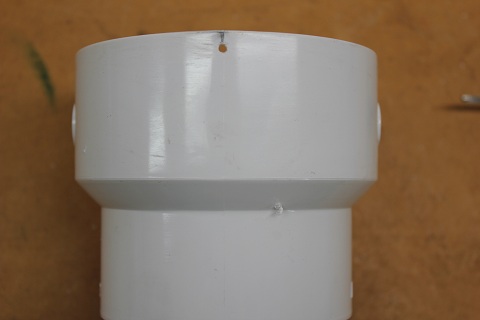
A 3" to 4" PVC reducer is used to connect the pole to the neck of the globe. I use three stainless steel 10-32 hex head screws to hold the globe in place
|
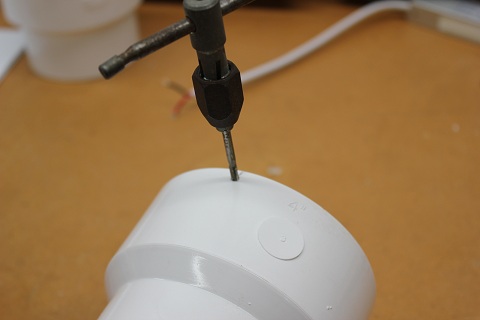
A simple hand tap to thread the pvc for the screw.
|
The PVC base sits loosely in the reducer. A few shots of hot glue holds the PVC base in place.
|
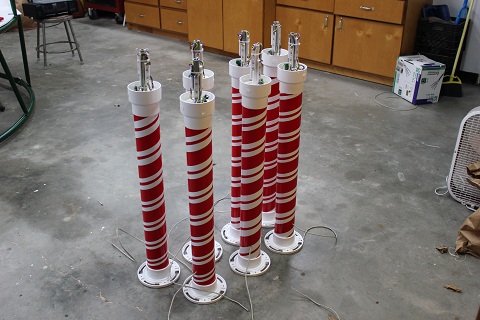
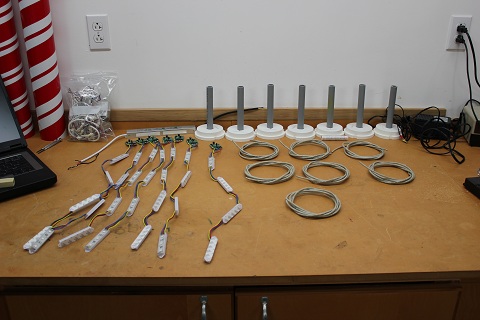
Here are all 8 of the completed North Poles without the globes. Note the Cat5 cable exits at the bottom (2013 UPDATE: See part 3 of this series for the updates done to replace the Cat5 connections) The "toilet flange" as the base provides a slot for a long galvanized nail to be driven into the ground to hold up the poles.
|
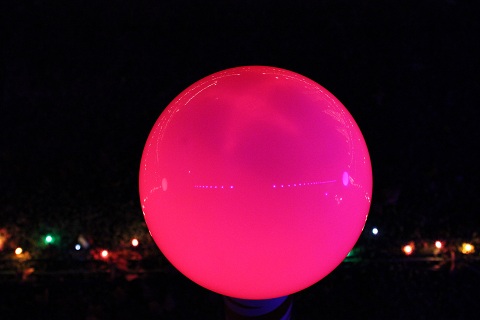
Here we see one of the poles with the globe lit up in red. The 4 staggered nodes fill the globe with light. These REALLY look great in the display.
|
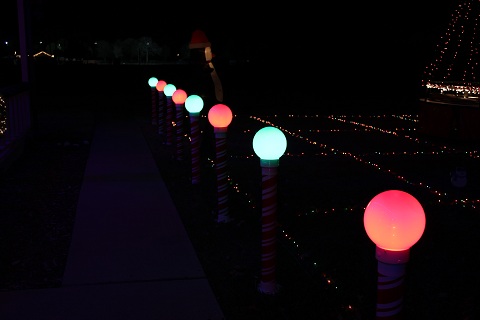
Here are the completed North Poles, lit up in the display. These were a big hit in the 2012 display.
|

