RGB North Poles - Part 1 - Striping the Poles
This section will show how we approached painting the candy cane striping on our North Poles. Its a little bit of work with big results.
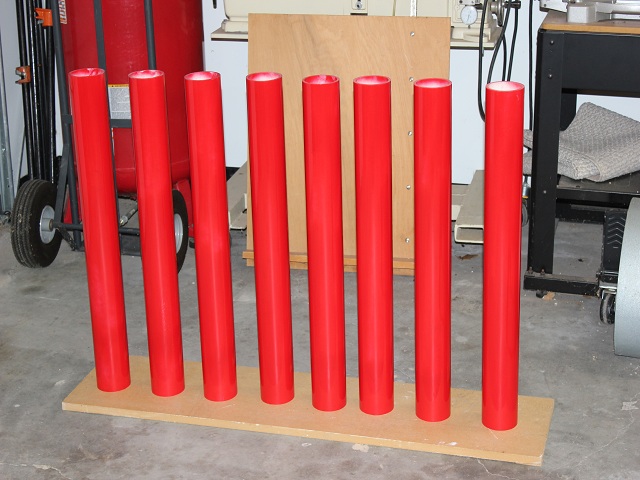
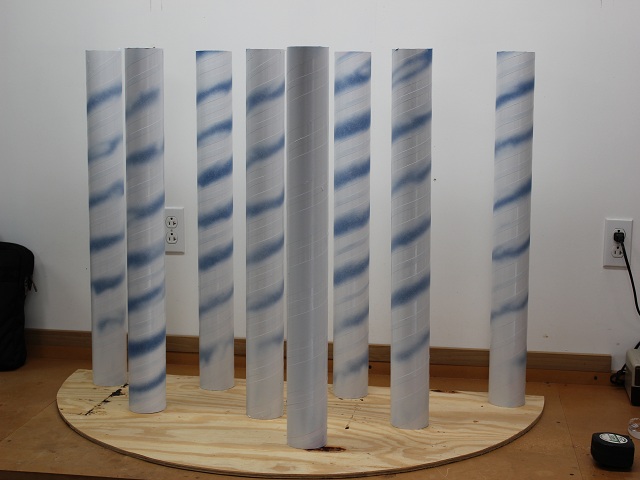
After the relative success of the North Pole Radio Sign, we decided to paint the candy cane design. Since I had 2" painters tape on hand, I selected to paint all of the pole red using Krylon Fusion paint (or any paint good for painting plastic)
|
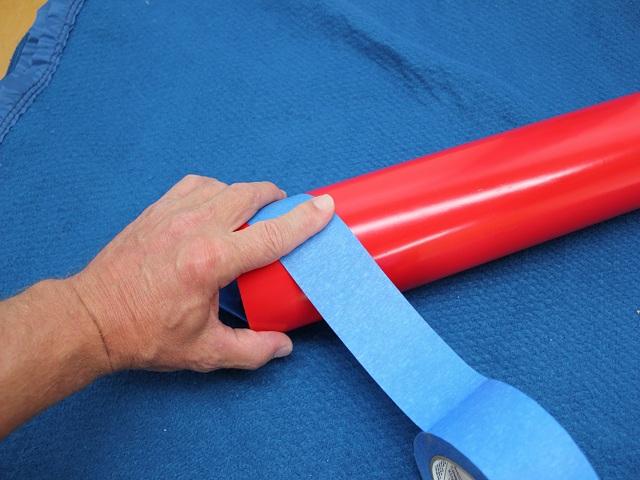
After letting the pole dry overnight, I began to layout the stripes. I am covering what I want to remain red and will then shoot the pole again with white Krylon Fusion. The starting angle is critical. You dont want to shallow or to steep a stripe. Blue painters tape is great in that (if you let the base cure) you dont peel up the base coat as you adjust it.
|

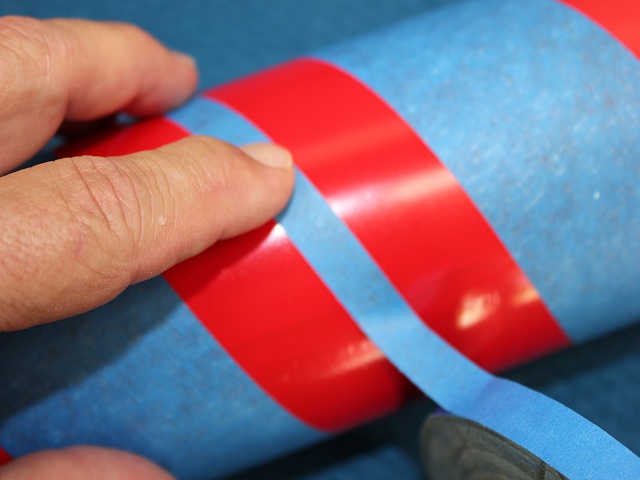
I used a soft blanket for the pole to rest on and rolled the post instead of trying to drag the tape around it. I kept my hand in the position shown throughout the process. This helps to keep air bubbles out and the forefinger aids in keeping the tape flat. Together this "helps" (but does not ensure) that your stripes stay generally evenly spaced.
|
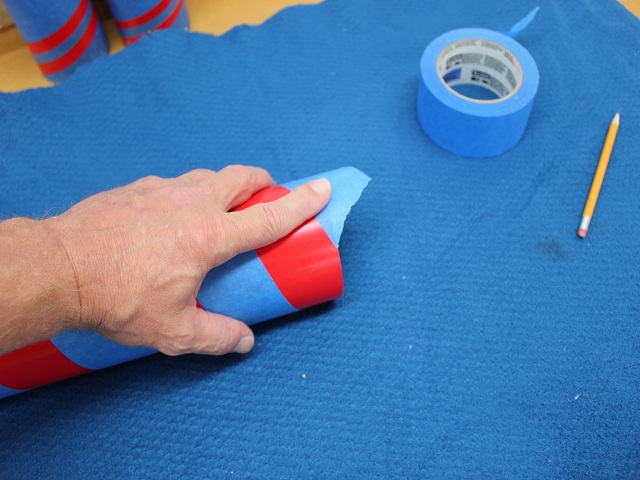
Keep rolling and sticking until you actually run off the end of the pole. This will help to keep the last stripe from creeping up and getting narrow at the end.
|
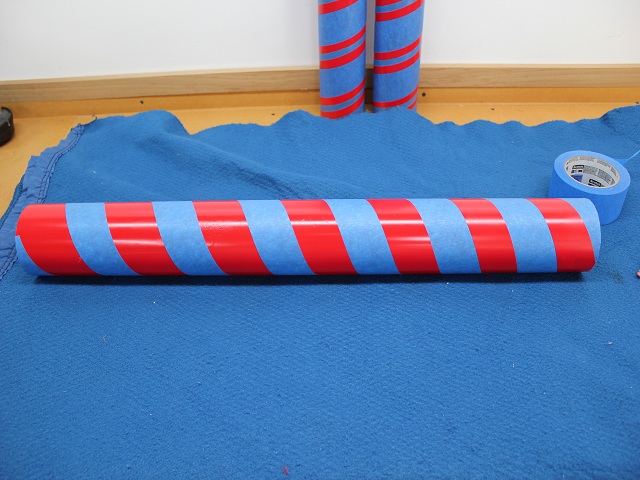
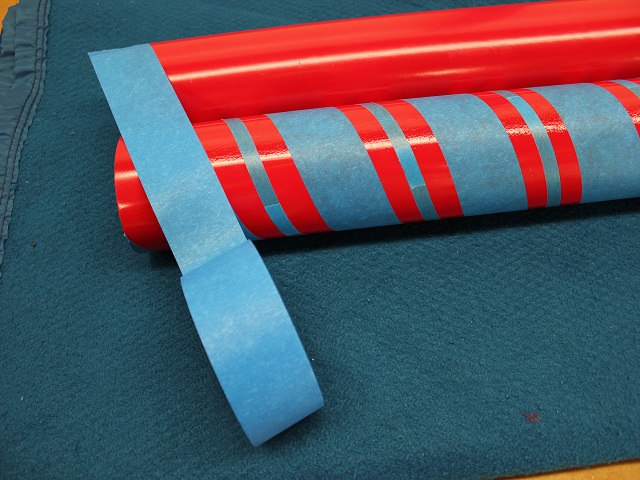
Here is the pole with the wide wrap in place (ignore the other 2 in the background) I was this far along when I went... OOPS.. where is my camera? )... If you dont like your spacing or they are off to much for your liking, simply take off the tape and try again.
|
Here is the tricky part in this project. No its not splitting the difference and putting the stripe. It was coming up with the narrow tape in the first place. If you live in a larger city, you may find a pin stripe shop where you can get just the size you need and even have enough room for more stripes. However, I had to make my own by running a 1" roll across my table saw. Messier, dangerous and more difficult then you think. PLEASE BE CAREFUL if you use the same route I used.
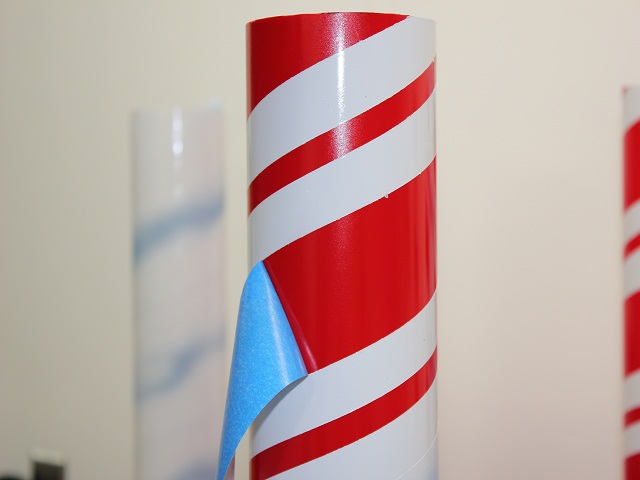
I simply used my narrow tape and split the difference in the stripe using the same techniques as the big stripe.
|

Now that one pole was taped and ready to paint, I used it as a starting template to layout the other 7 North Poles. Notice I lay them side by side and arrange them so the tape at the end matches up at the top
|
Using the completed pole as a guide, lay the tape across the pole your working on while matching to the existing angles of the completed pole. This will NOT guarantee exact duplicates, but will get you close enough that when in your display you wont even see any differences.
|
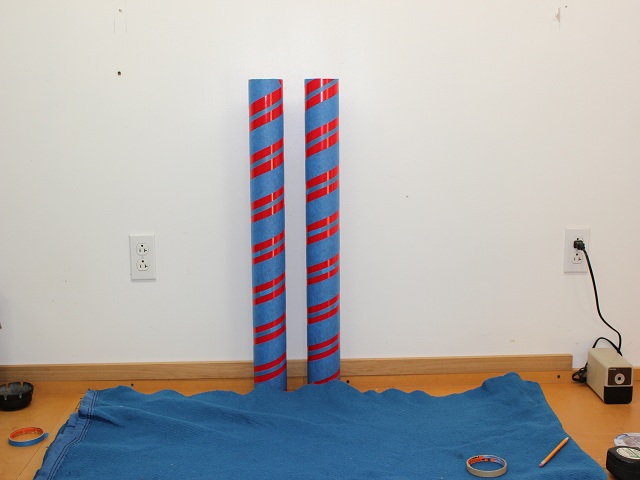
Here are two fo the eight poles ready for paint. Set side by side and twist them around a little and the stripes line up pretty well! Dont worry to much about the top and bottom of the poles. Remember you will be putting a topper collar and a base on them.
|
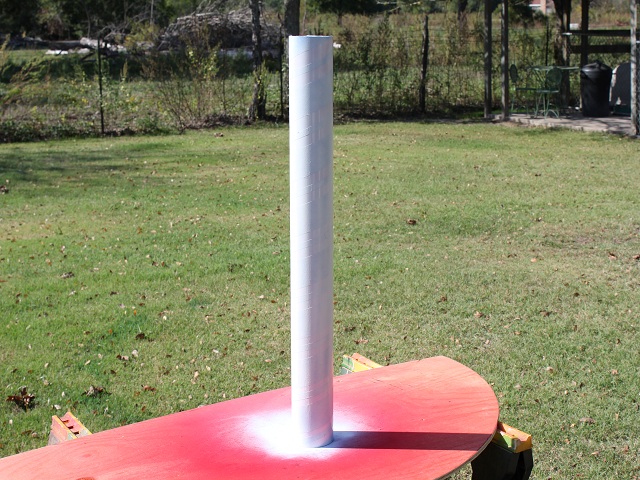
Nice warm sunny day. Painting the pole white. I'm sure you can reverse the process I'm laying out here and paint white, tape, then paint red, but this is just the way I ran the process. If you get the results you want, then you cant do it wrong.
|
And here they are, drying and waiting to remove the tape. TIP: dont get anxious. Let them dry for a day. The tape will still come off clean and the edges a little sharper.
|
Having a decent camera has its drawbacks. One is that it shows every blemish. The edges look a little jagged, but from 2' away, you dont see it and your visitors, in thier car.. at night.. will only say .. WOW!!..
Pull the tape off slowly and try to maintain the angle of the stripe as you pull (keep in straight). This will reduce the chances of paint pull.
|
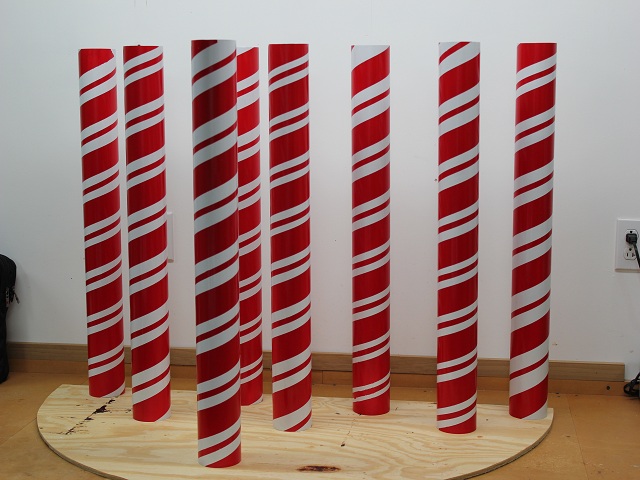
And here we are! Eight brand new candy cane striped North Poles. Are the perfect? Nope.. Do they look good? ehh.. yeah... Did people notice they wernt perfect? Not until you wrote this how to and told them all!!!
|

